It’s not unusual to see multiple forms on a given Entity. Take our demo system, Accounts entity, for example!
It’s possible to change the default form displayed by Dynamics–for the most part*. If you want to change the Default form, read on!
*Before we go further, a note on the behavior of forms:
If you’re currently using Dynamics and change a form, the form you change it to will become your “Default” form for that entity for the remainder of that session. When you log out completely, and log back in, the “true” system-default form will be displayed first. This is Dynamics’ natural behavior and can’t be changed.
You CAN, however, change the order that entity forms are displayed in, and whatever form is first, is the “true” default form.
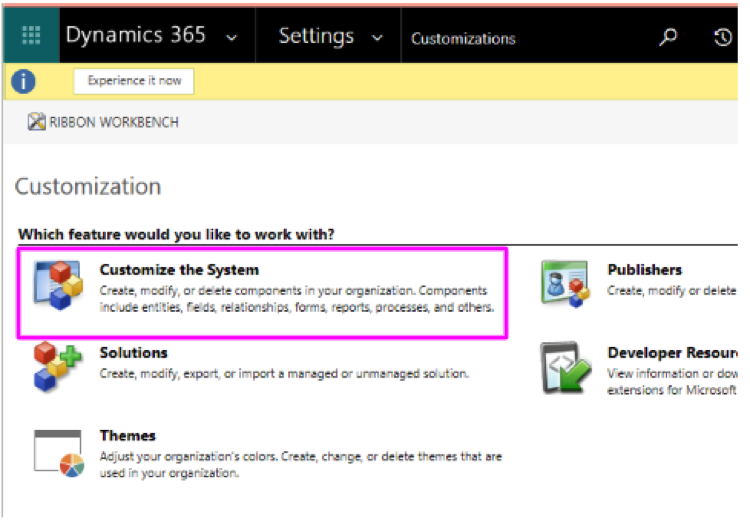
Navigate to Settings->Customizations, then select Customize the System:
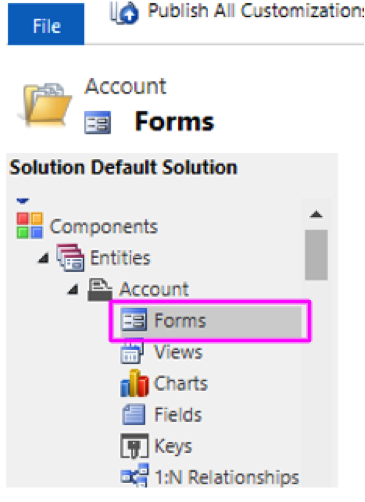
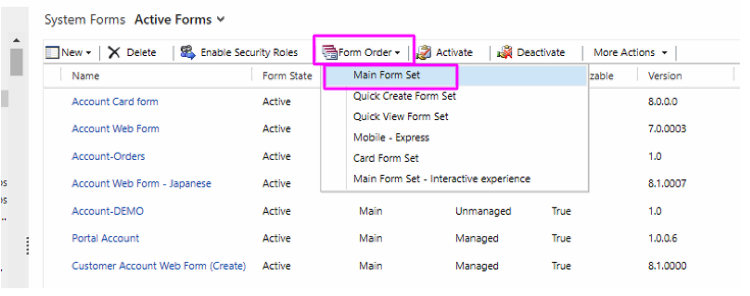
In the Solution, expand Entities and locate the appropriate Entity. Expand the Entity and select “Forms”:
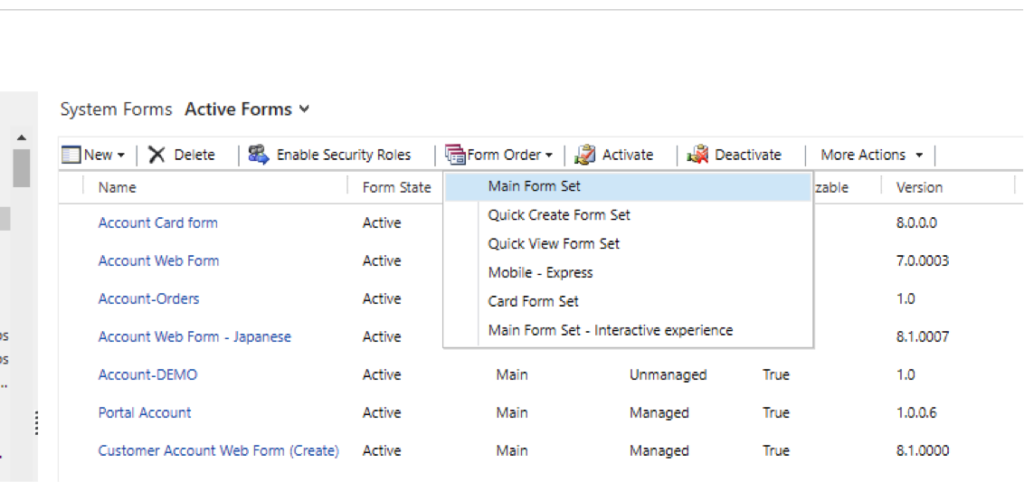
Next, select “Form Order”, then “Main Form Set”:
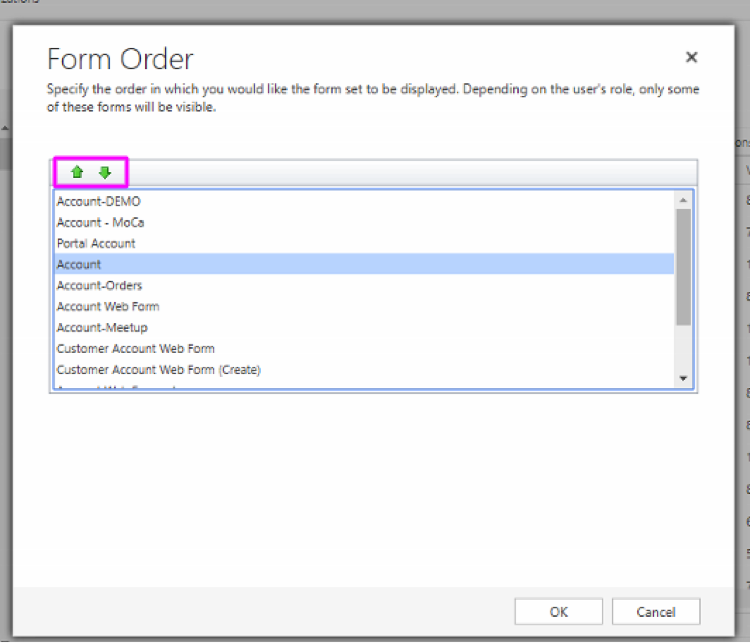
Select a form and use the arrows to change its position in the list. The very first form is considered the “Default” system form. Click OK when finished:
Publish your customizations–all set!
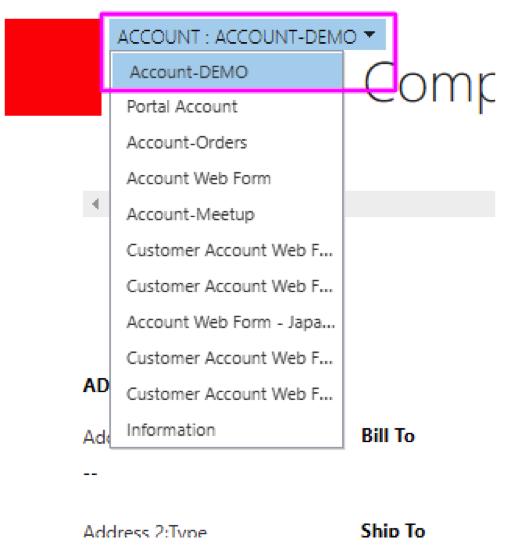
In this example, “Information” is now the default form for the Account entity. Next time you sign out and back in, that should be the form that is displayed by default.