We’ve covered conditional formatting a few times before, but I used conditional formatting in a new-to-me way this month and wanted to share. I was assigning dates to tasks for a project and realized that it would help me if I could at-a-glance determine how soon tasks were due. Behold, conditional formatting! Keep reading to see how I solved my problem. By the way – to look at those older posts, check out the links below:
Office 365: Use Conditional Formatting to Automatically Assign Colors to Calendar Items in Outlook
Office 365: The Beauty of Conditional Formatting in Excel
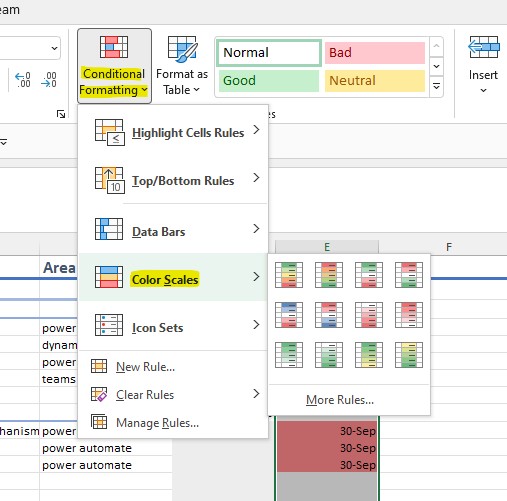
This is actually really simple and quick! In my case, I had a column with the due dates for various project tasks and wanted to be able to see at a glance what was due soonest. All I had to do was highlight the date values in the column, then go to the “Conditional Formatting” button in the “Home” tab. In the “Color scales” area, I tried out the various color schemes until I found one that made sense for my goal:

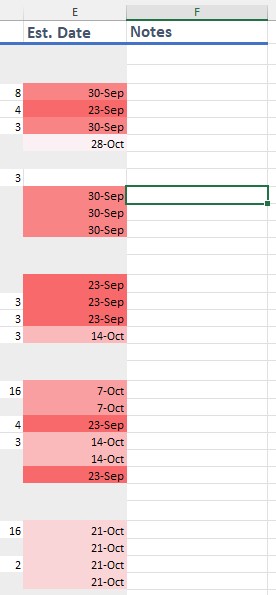
Formatted:

If none of the color schemes make sense for your needs, you can select “more rules” and create your own. Good luck!

